Shroom and Gloom Strategy Guide
Grow timing, eat engine loops, mood triggers, and the path to the Gloom door.
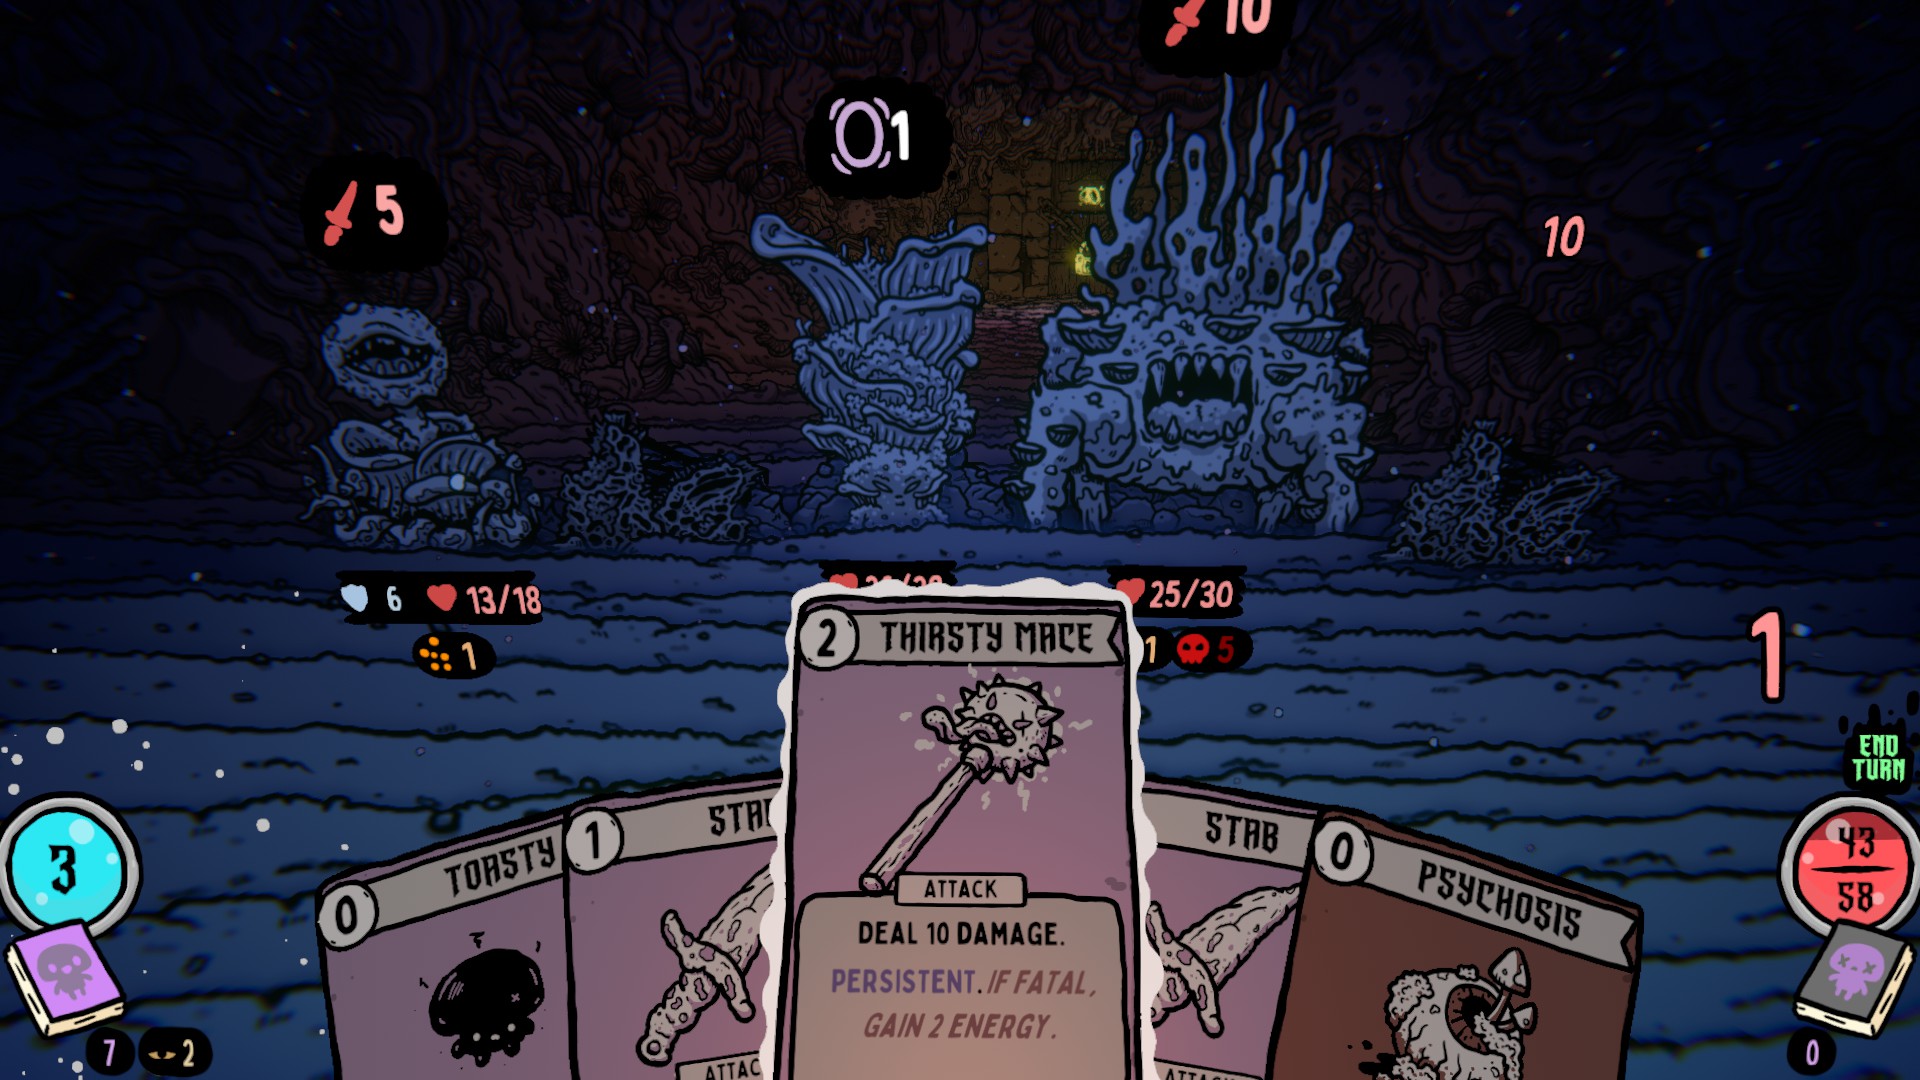
This page is for Shroom and Gloom players who have cleared the demo at least once and want to run smarter, not just longer. The double-deck loop is simple to describe and hard to internalize: you build two decks, not one, and the explore deck decides when the combat deck gets to rest. Early Access on 10 September 2026 adds The Facility and four extra characters, but the strategy habits below transfer. Paperboy’s classroom is the curriculum.
If you still die with a full hand and an empty stomach, start with How to Eat Enemies before reading this page. If you do not know why the practice dummy exists, read the Combat Deck Guide before the grow section here.
The three demo engines
Team Lazerbeam has described three playstyles in interviews and the Steam demo text: persistent growth, foodie eating, and temporary moods. Every successful demo run leans on one of these as a main plan, with the other two as supporting splash. A run that tries to do all three simultaneously is the C-tier build described on the build tier list — unfocused, fat decks, death by clutter.
Pick one engine as your primary. The demo is short enough that a lean deck built around one plan beats a kitchen-sink deck that has pieces of all three but triggers none of them consistently.
Growth strategy: when to commit
The practice dummy is the growth enabler. A starting attack that enters the dummy grows by +1 or +2 each visit. That grown card stays in the combat deck forever. The math compounds: a 3-damage stab that grows twice is a 5-damage stab that costs the same energy and draws every shuffle.
When to grow: commit to one attacker early, ideally in the first three combats. Do not try to grow three cards — the practice dummy visits are limited and your deck gets fat. The frog statue exists to forget the extras, but you need a grown sibling before you frog the starter.
When not to grow: if your first combat reward is a food generator, skip the dummy. Food is the block equivalent in this game. A perfect growth deck that starves before the biome boss is an incomplete run.
The growth trap: players see a new combat card that looks exciting and draft it, diluting the grown copy they already invested in. If a card does not grow, treat it as B-tier filler at best. The card tier list has the sourced names that actually carry runs: Distant Shadow, Parental Instinct, Hysterical Strength.
Eat strategy: food as a resource loop
Eating is not a last resort in Shroom and Gloom. It is the primary survival tool. There are no block cards. You live on Headpoints, food, and eating. A Toasty leftover from a fatal roast line is worth more than a 10-damage attack that leaves an empty plate.
The eat loop: roast or burn an enemy to death → collect Toasty or Seasoned → eat before or during combat to heal → bank extra food for biome bosses. Cards that generate food without costing combat damage are the engine pieces. The How to Eat Enemies page is the full manual; this section is the decision tree.
When to eat: before a biome boss, after a hard room that drained HP, or whenever Current Headpoints is below half and you have food in hand. Eating during combat is for lethal math; eating before combat is for the buffer.
The eat trap: players who hoard food nervously and never spend it. A full pantry that you never open is the same as no food. Trust the bank. Eat when the HP matters, not when the run is already over.
Mood strategy: rage as a temporary multiplier
Moods are temporary cards — rage, impatience, repressed feelings — that you generate inside a fight and discard at the end of combat. Rock Paper Shotgun clocked this in the prototype: victory by tactically driving yourself nuts. Concerned Parent in Early Access is built around a draw-rage loop.
Today (Paperboy demo): moods are A-tier splash, not a primary plan. Paperboy does not have the draw engine to make temporary rage consistent. Draft moods if they appear naturally, but do not hunt them.
After Early Access: if Concerned Parent’s Parental Instinct creates Hysterical Strength and that rage grows when you draw, mood engines may challenge eat and grow for S-tier. Rank it A until that class is playable.
Explore deck discipline
The explore deck is the meta-engine. It modifies combat cards, opens routes, and decides whether you rest or shove. Every extra explore card is a missed practice dummy. Every extra combat card is a missed grown hit.
Keep both decks small. The frog statue is not a punishment — it is a tool. Use it on starter basics after their grown sibling exists, on explore cards that duplicate a job you already do, and on unplayable moods you cannot trigger.
Warmth management: lingering in a room to feed, fix, and loot is stronger after the 2026 explore rework, but danger rises the longer you stay. Burning Sensation adding 10 Warmth is the example of a card that taxes combat hand space to make camping safer. Splash warmth if your eat engine needs extra rooms. Do not build camp simulator and forget to grow a hit.
Key routing and the Gloom door
The mushroom key unlocks the Gloom door. It is a consume, not a reusable lockpick. Treat the first mushroom key like a finale ticket. Ordinary keys and Headpoints bashes are for ordinary locks.
Key-hunting without food is how you arrive at the ending event at 4 HP and get deleted. Treat Gloom access as a win condition you attach to eat or grow, not as its own tier.
The demo is 26 handcrafted tunnels with 8 hidden Foresight rewards. You cannot grab all eight casually. A successful run lets you lock one Foresight you discovered for future explorers. Pick the passive that matches the engine you actually played, not the flashiest name.
What transfers to Early Access
The Facility runs on gunk and digital locks instead of warmth and wooden keys, but the double-deck rule is the same. Janitor’s data economy is a new resource to learn, but growth and eat are still the survival foundations.
Lunchlady is built for feed and cooking. Expect eat to stay S because the design still rejects blocking. Concerned Parent’s mood engine may leapfrog both if the draw-rage loop ships as shown.
Until two full pools are playable, treat this page as a demo-era compass. The habits transfer; the specific card names will change.
Quick decision tree
- After tutorial rooms, look at your first dummy and first food tool. If you have both, you are already in a dual-S hybrid.
- If you see Distant Shadow, lodge it and grow it — that supports every engine.
- If you see extra moods and no draw engine, skip them on Paperboy.
- If HP is your problem, stop drafting damage and read how to eat enemies.
- Lock a Foresight that matches the engine, not a random extra energy relic you will not spend.
Run this checklist every time you face a reward choice. The demo is short enough that consistent decisions beat lucky gambles.
Frequently Asked Questions
Quick answers to the most common Shroom and Gloom questions.
Which engine should I pick as my main strategy?
Growth or eat. Both are S-tier in the demo. Growth wins long runs; eat wins messy runs. Mood is A-tier splash today, not a primary plan.
How many cards should I grow?
One or two maximum. The practice dummy visits are limited. Growing three cards splits your investment and fats the deck.
When should I eat during a run?
Before a biome boss, after hard rooms that drained HP, or whenever Current Headpoints is below half. Eating during combat is for lethal math; eating before combat is for the buffer.
Should I spend the mushroom key on a normal lock?
No. It unlocks the Gloom door. Use ordinary keys or Headpoints bashes on wooden locks. Rushing keys without food is how you die at the finale.
Do these strategies work in The Facility?
The double-deck rule transfers. Gunk replaces warmth as the explore resource, but growth and eat are still the survival foundations. Janitor's data economy is new; the habit of keeping decks small is not.